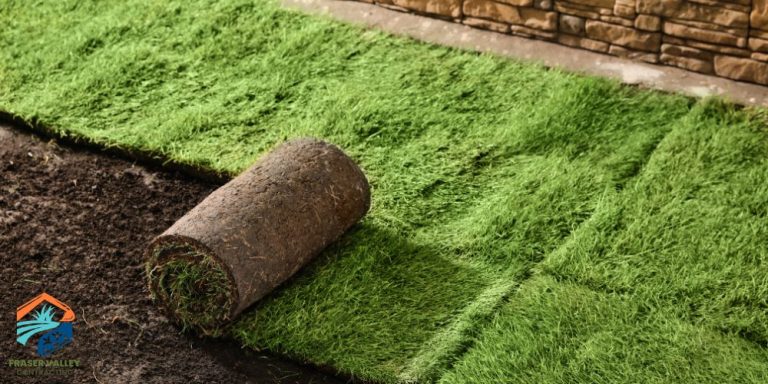
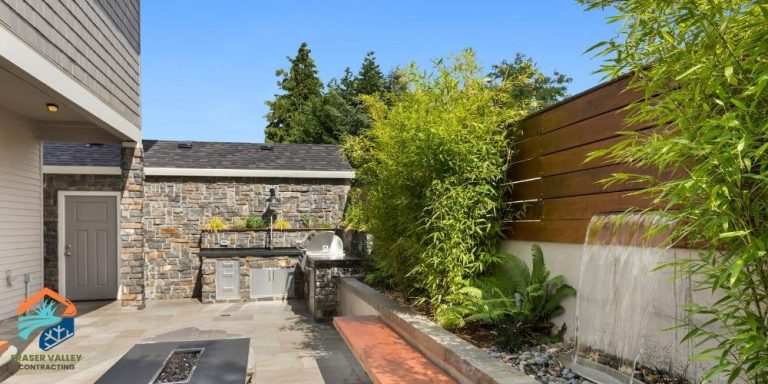
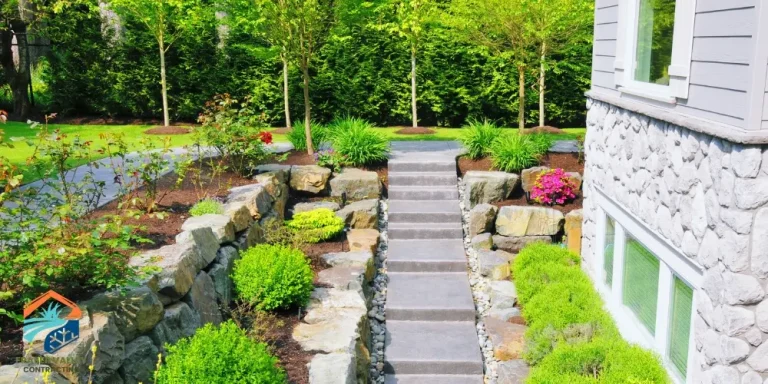
Backyard pavers are one of the most popular hardscaping upgrades in the Fraser Valley, and for good reason. They create clean, usable outdoor spaces that hold up better than poured concrete and add long-term value to your property.
An important planning item is to ensure there’s proper base prep and drainage underneath to ensure pavers last.
If you’re planning a patio, walkway, or outdoor space, understanding how backyard pavers are installed properly can help you avoid sinking, shifting, and water problems down the line.
What Backyard Pavers Are (and Why They Work So Well)
Backyard pavers are individual stone or concrete units installed over a prepared base. Unlike poured slabs, they allow for:
- Flexibility with ground movement
- Better drainage between joints
- Easier repairs if sections shift
In a region like Chilliwack where rain, soil movement, and freeze–thaw cycles are common, this makes pavers a strong choice for hardscaping.
Step-by-Step: How Backyard Pavers Are Installed Properly
1. Planning the Layout
Every project starts with defining:
- The size and shape of the area
- How the space will be used
- Where water will flow
This step ensures the finished space feels natural and drains correctly.
2. Excavation
The ground is excavated to remove topsoil and create space for the base.
In the Fraser Valley, this is critical because:
- Organic soil holds moisture
- Soft ground leads to shifting over time
Depth depends on use, but patios and walkways typically require a solid base below the surface.
3. Base Preparation (The Most Important Step)
This is where most DIY installs go wrong.
A proper base includes:
- Compacted crushed gravel
- Multiple layers for stability
- Grading that directs water away from structures
Without this, pavers will sink, separate, or hold water.
4. Bedding Layer
A thin layer of sand is added on top of the compacted base.
This allows:
- Minor leveling adjustments
- Even placement of pavers
It’s not structural, the base underneath does the heavy lifting.
5. Laying the Pavers
Pavers are placed in the chosen pattern and aligned carefully.
At this stage:
- Consistent spacing matters
- Edges are defined to prevent movement
- Cuts are made for a clean finish
6. Edge Restraints
Edges are locked in using restraints to keep the pavers from spreading over time.
This step is often skipped, and it’s one of the main reasons for having to redo pavers down the line.
7. Joint Sand & Compaction
Polymeric or joint sand is brushed into the gaps and compacted.
This:
- Locks the pavers together
- Reduces weed growth
- Improves durability
Why Drainage Matters More Than the Pavers Themselves
In the Fraser Valley, water is the biggest factor in whether a paver project lasts.
Without proper drainage:
- Water sits under the surface
- Freeze–thaw cycles cause shifting
- Low spots form and worsen over time
A well-installed paver system is designed to shed water, not trap it.
DIY vs Professional Installation
While it’s possible to install backyard pavers yourself, most long-term issues come from:
- Inadequate base depth
- Poor compaction
- Improper grading
- Missing edge restraints
Professional installation focuses on what you don’t see, because that’s what determines how the surface performs years later.
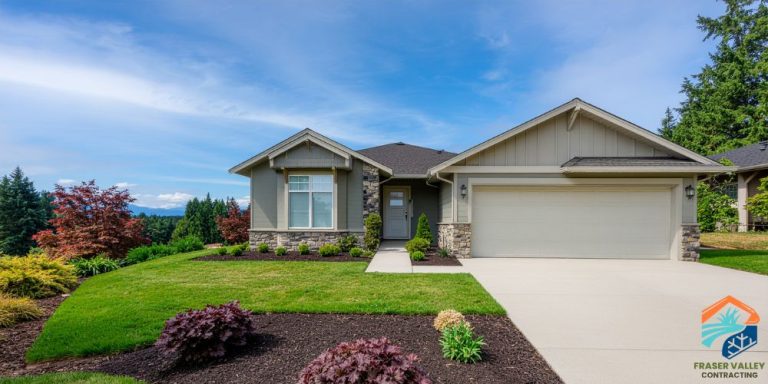
Backyard Pavers Built for Fraser Valley Conditions
At Fraser Valley Contracting, we install backyard pavers as part of a complete hardscaping approach, not just surface work.
That means:
- Proper excavation and base preparation
- Drainage planning built into the design
- Materials suited for wet, shifting soil conditions
- Clean layouts that match how the space is used
The result is a patio or walkway that stays level, drains properly, and holds up through every season.
Final Thoughts
Backyard pavers are one of the best ways to upgrade an outdoor space, but only if they’re installed correctly from the ground up.
If you’re planning a hardscape project in Chilliwack or the Fraser Valley, focusing on base preparation and drainage from the start will save you time, money, and frustration later.